

 English
 中文简体
中文简体Content
Automotive relays are critical components in your car's electrical circuits. They act like tiny switches, controlling large currents with small currents, thereby protecting various electrical devices such as headlights, horns, fuel pumps, and air conditioning fans. However, a faulty automotive relay can cause these devices to malfunction or even lead to more serious circuit problems. Therefore, knowing how to check automotive relays is crucial.
Understanding Automotive Relay Types and Locations
Before inspecting a relay, you first need to know which type you are looking for. Automotive relays are typically classified as normally open (NO), normally closed (NC), and changeover types. They are typically located in the fuse box inside the engine compartment or cab. To locate them, consult your vehicle's owner's manual, which will detail the location and function of each fuse and relay.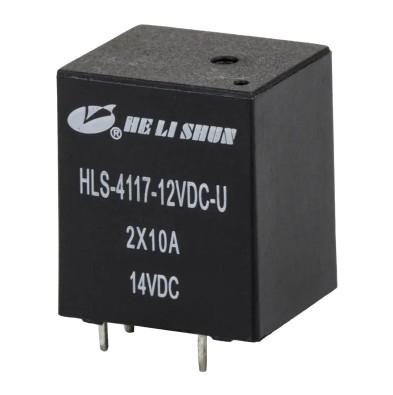
Step 1: Visual Inspection
Before beginning any tool testing, perform a simple visual inspection:
- Smell: Smell for signs of burning. A burnt relay typically emits a burnt odor.
- Visual Inspection: Inspect the relay housing for signs of melting, burning, or deformation.
- Listen for the sound: A properly functioning automotive relay will make a crisp "click" sound when power is applied. If you don't hear this sound when power is applied, it's likely damaged.
Step 2: Test with a Multimeter
This is the most reliable way to accurately determine whether an automotive relay is functioning properly.
Preparation
- A multimeter.
- A relay wiring diagram (usually printed on the case or in the user manual).

Testing Steps
- Determine the pinout: Automotive relays typically have four or five pins, labeled
30,85,86, and87(or87a). 30: Power input85/86: Two pins that control the relay coil87: Load output (normally open)87a: Load output (normally closed, some relays have this)- Test coil resistance: Set the multimeter to the resistance (ohms) setting and connect the test leads to pins
85and86. Normally, you should read a resistance between about50–200 Ωdepending on the relay type. If the reading is infinite (open circuit), the coil is open and the relay is defective. - Testing the normally open contacts: Set the multimeter to continuity (beep) mode and connect the test leads to pins
30and87. There should be no beep, as the normally open contacts are open when not powered. - Simulate power on and test again:
- Find a 9V or 12V power supply (such as a car battery).
- Connect the positive and negative leads of the power supply to pins
85and86, respectively, to simulate powering on. You should hear a crisp "click." - With power on, use the multimeter to measure pins
30and87again. If the relay is functioning properly, the multimeter will beep, indicating the circuit is complete. If there is still no beep, the relay is defective.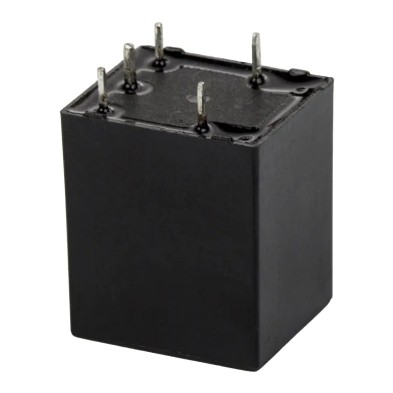
Step 3: Replacement Test
If you're not familiar with using a multimeter, there's a simpler method: the replacement test.
- Find a relay of the same model: Locate a relay in the fuse box that performs a less critical function but is the same model (many cars use identical relays for different circuits).
- Replacement: Unplug the suspected faulty relay and plug in the working one you found.
- Observe the results: If the previously faulty device (such as the headlights or horn) now works properly, the relay you removed was likely faulty.
Whether through a visual inspection, a multimeter test, or a simple replacement test, knowing how to inspect an automotive relay is invaluable. If an electrical device in your car suddenly malfunctions, don't rush to a repair shop; first try inspecting the relay yourself. When in doubt, consult a professional mechanic.


